Part 194: Training Day
Training DaySo confession/apology time first of all; I screwed this up. I didn't really wrap my head around parts of how to do this first type of custom map until partway through the second. We're doing PAC, aka Play-As-Creeper here, maps part of the Arc Eternal: Redemption fan campaign, authored by Hubs and recommended by AshSaber.
I done screwed up to the point of not comprehending significant parts of the directions. I figure I'd start off by sufficiently flagellating myself for that fail so as to at least partialy relieve the lot of you from the duty to pile on.

We begin here, opposed by a smattering of Beams and a veritable buttload of Pulse Cannons. And we have a whole one emitter to work with. Super.

Any good campaign starts with a tutorial, and this one is no different.


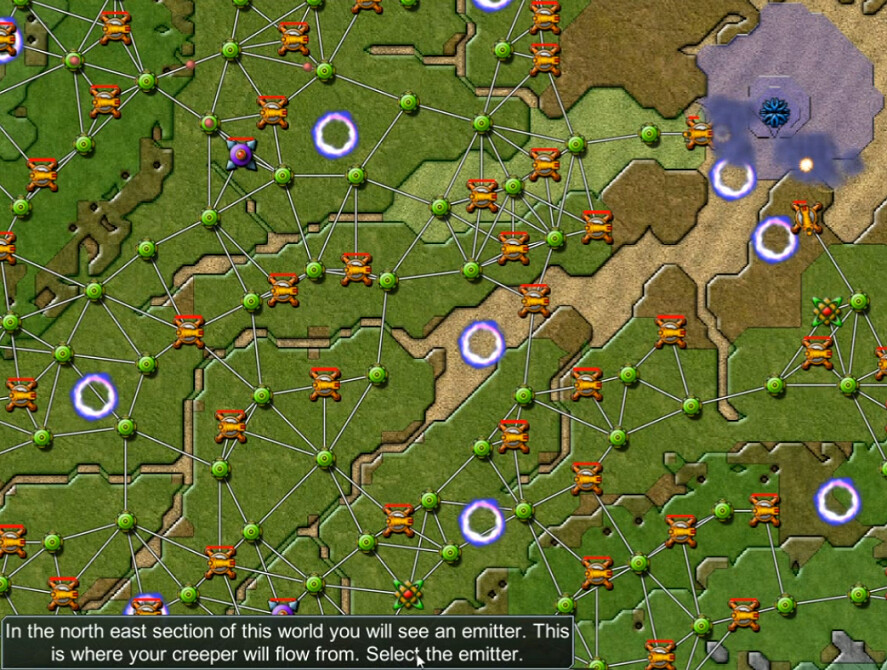
Our starting emitter begins splurting forth life-taking Creeper. I must say it's really weird to fight against the very units I've spent so long building and deploying. Anyway, we have continued instructions at the bottom of the page. To begin with it could not be more basic.

So far so good. I need to give this map a high mark here for the start of giving clear instructions.
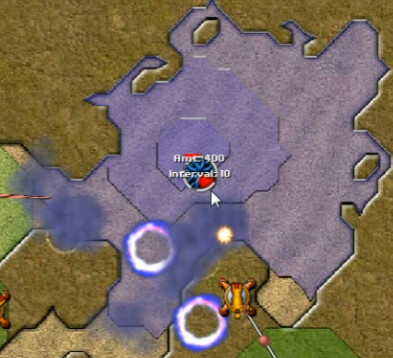
So I type in R and we get this red light, plus a red bar you can barely see here. That's a 'progress to bursting' kind of thing. We get 20 per 0.5s, the standard amount, or here we save it up and then release it all after 10 seconds for a 400-strength burst.
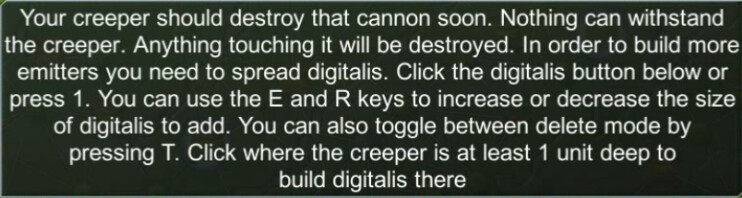
Here's where this started to go sideways for me. I've got normal-burst mode, E and R to switch, I'm using creeper which I'm not used to, it's talking about a cannon that I think I've already destroyed because I'm trying to read this and absorb it, etc. Then I've got to use the digitalis, we have a hotkey for that ... and for some reason I totally missed the second half of this message where it talks about resizing and delete mode. I did catch the part at the end about using it where the creeper is at least a unit deep, but whether I just didn't fully read it or my brain was on info-processing overload, maybe both, the resizing thing in particular never penetrated my cranium. Pretty clear from what I was saying at this point that I just wasn't keeping up with the narrative.

So we expand only via Power Zones, and we have four things in the control panel here to select from.
I found myself unable to make this happen. Stuck using the tiny 1-square digitalis brush, I spread some around but it's not growing or activating and I can't put the emitter down on that second PZ. Now the LPer should really learn to read the instructions, but I will also say this would have been better if it simply defaulted to a 3x3 or 4x4 brush. That's certainly more useful than this barely-visible operation.
Getting increasingly annoyed, I paint more and more bits of digitalis around in the area trying to make it work, but nothing happens and I can't drop down the second emitter. So I restart to read the directions again. And don't catch the digitalis resizing for a second time *facepalm*.
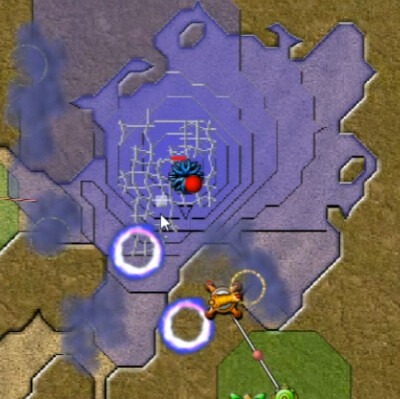
This time I get it to grow. The difference apparently is that the first attempt I managed to slap down digitalis all around the initial emitter but apparently not directly under it, so nothing connected and energized.
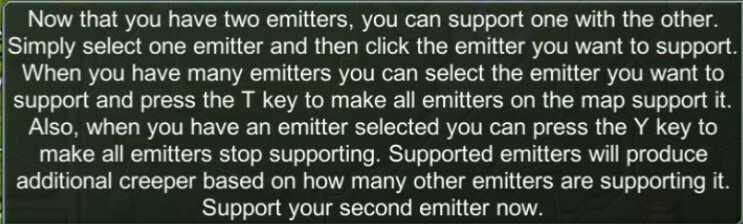
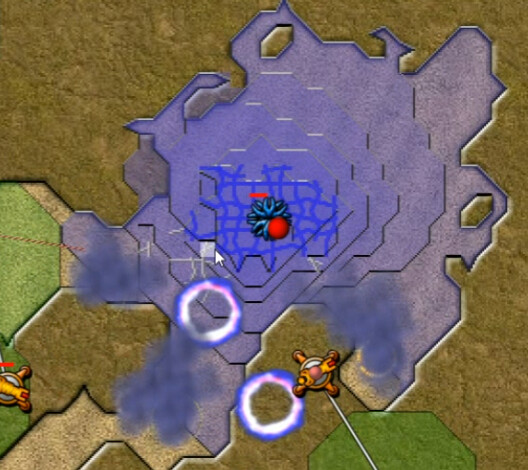
More instructions. This supporting mechanic is vital and I'll be doing it a lot.

Here's what the support-in-action looks like. It's working - the second one in the below-left position is now at 40 per half-second, double the previous, normal strength.
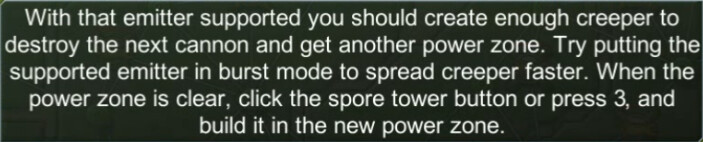
Yeah, that cannon's already gone. Aside from feeling I'm falling behind here, I also wish it was made a little more specific that healthy digitalis needs to be at the new PZ, no merely have it 'cleared'. We're logically moving on to the next building in this tutorial here.

We get a nice big timer immediately, letting us know how long till the next Spore launches.

Guh. More words. It's not really all that complicated, but trying to absorb and apply it all wasn't easy for me. In general, E R T Y are the important hotkeys to remember, 1-4 for the control panel stuff.

Here's the Tower Targeting System, nice and big and clear.

This will be much important in the second mission, but generally do not underestimate the power of Totems. PAC uses them differently of course, but they are still critical here.

Here's the afore-mentioned blue ring operational.

Again with the progression through the various items, we come to the Field control.

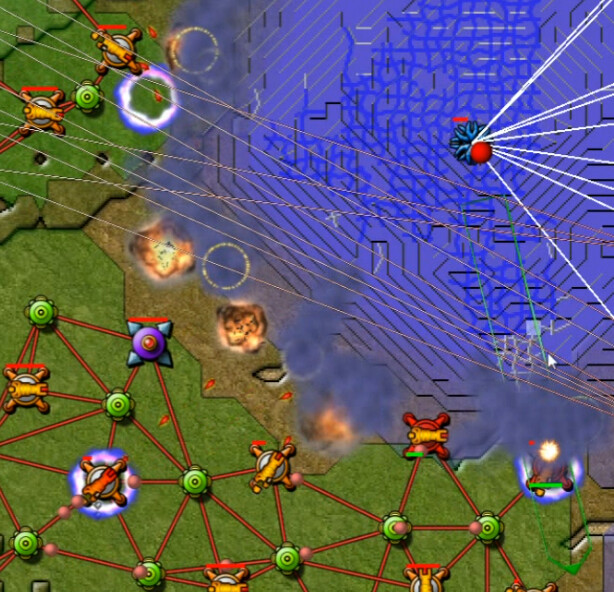
Here I send it north-northwest towards a cannon ... it's a bit hard to see the green on green background. Not specified here and it took me a bit to surmise is that you can only have one active field at a time. Placing it again negates the earlier command.

Thus ends the instructions. I would notice this deletion mechanic, then completely forget it for the duration of my time with the PAC levels. Go me.
So now it was time to wage war as creeper. Badly and slowly, but this is a tutorial mission and quite forgiving. I had another problem first though, and this is one that I think is a very legitimate usability criticism of this mode. With the spore tower selected, I found myself unable to deselect it. Cancel on the menu bar did nothing. So I restarted again and futzed about with it.
The bottom line is, unless I was being super-dense again and someone can point something out, I needed to select something else on the control panel, then cancel that, and then I could select another item on the map. I.e., if I was on the spore tower and wanted to select one of the emitters or whatever, I couldn't find a faster way to do that. It's still functional, just clunky or annoying or whatever to use.
Around 9:30 on the video I finally get down to business.

There's no beams in the immediate vicinity, so a combination of the Field and Targeted Spore concepts was quite effective in clearing out the cannons.
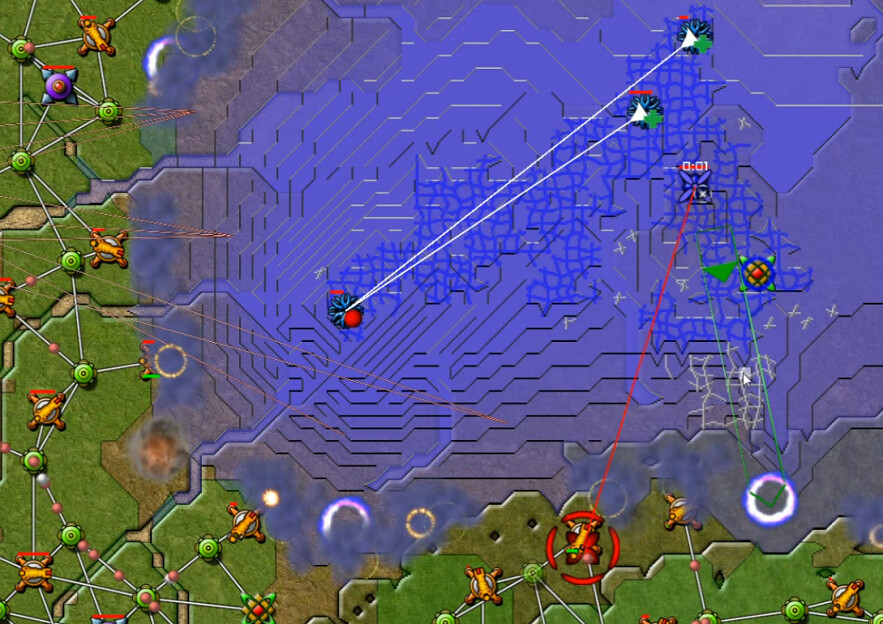
Then, with a new emitter in tow I could push more that way while sending spores south. The paltry defenses of incompetent Abraxis - he who still projects a finite existence in this time - were helpless before me.

As the creeper spread further and faster, I spent more and more time painting digitalis about with that stupid tiny brush. I did get a little better at it, but it definitely still slowed things down.

While painting digitalis, I used the H option and this came up. Read it several times. Totally didn't absorb the last sentence *sigh*.

I do really like the way the context-sensitive help was implemented though. Clearly they tried to make this fool-proof.
Eventually the number of emitters at my command just totally smash the human resistance through sheer force.

Victory!


And so we trace the steps of the Lia & Abraxis duo, unwittingly hunting down our creators. Next up, I'll eventually suck less in handling that next mission.